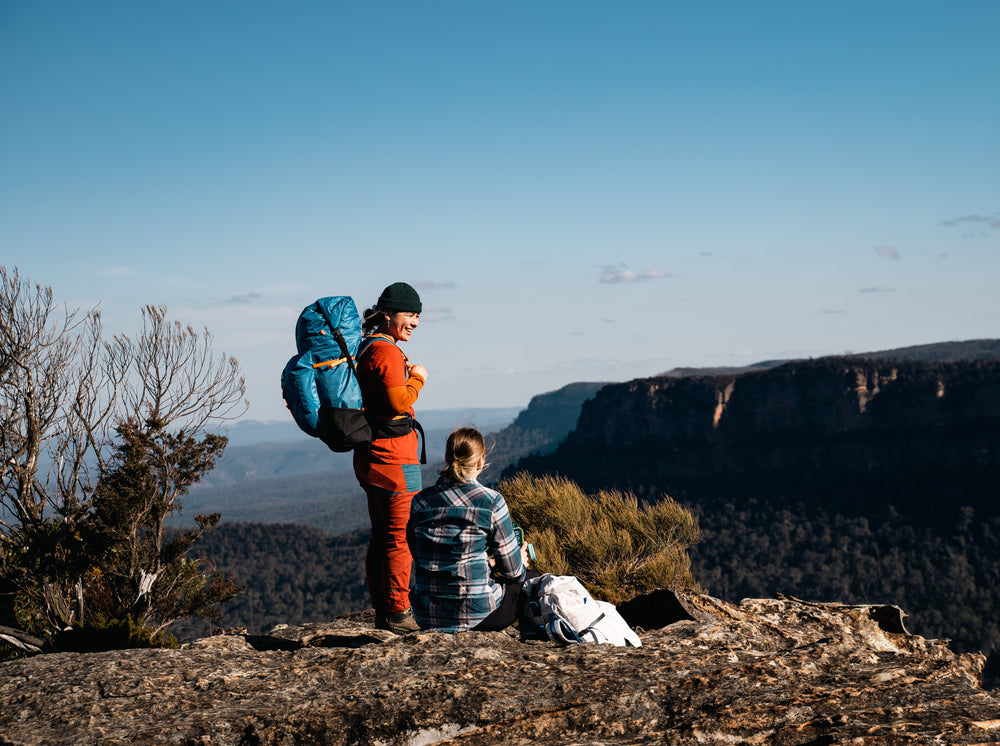
Top 10 tips for doing the Overland Track in Tasmania

I recently did the Overland track with my daughter Oliva and here are the top 10 tips that we think most people would like to know before starting the Overland track. These tips are a combination of mistakes we made, or we observed others make while doing the track.
1) Don't take too many clothes. Clothes end up weighing quite a lot and take up a lot of space - you really only need 1 set of clothes to hike in each day and then change into something else for sleeping each night. Here is all that you need for clothing
- 1 x merino t-shirt - merino takes on no odour, is fast drying and keeps its thermal properties if it gets damp.
- 1 x long sleeve sun shirt - fast drying and light.
- 1 x fast drying light weight hiking pants.
- 1 or 2 pairs of merino undies - yes that right merino undies - once you try it, it is hard to go back.
- 1 or 2 pairs of merino hike socks
- 1 x Buff or Beanie
- 1 x Mid layer - this is critical, it needs to provide warmth when you start out your hike but not too warm that you need to take it off within 5 mins of starting,
- 1 x pair of liner gloves, with waterproof shell you can put over the top.
- 1 x insulation jacket- ideally with synthetic loft that keeps its thermal properties even if it gets wet (if down wets out it loses its insulations)
- 1 x Breathable waterproof rain jacket and pants.
- 1 x Thermals - you can sleep in these if you are cold and makes for another shirt when you get to end and you have not had a chance for a shower.
2) Pack as light as possible. Each extra kilogram slows you down, increases the chance of injury and also reduces your enjoyment. You should be able to get your base weight (weight of your pack without food and water) down below 12kgs. At the end of the hike, my entire pack weight with food and water was less than 12kgs. In contrast we met other hikers whose packs were well above 20kgs, and they had suffered a lot more. If you get lighter, smaller gear then you can get a lighter, smaller pack to carry it. A great place to save weight is in the pack itself. Our Whippa 60L pack only weighs 940grams.
3) Try the food options before you go out and buy big. It is nice to have a meal that you enjoy before you start and when you finish hiking for the day. There is a big variation in freeze dried food, and we discovered that we did not particularly like some of our selections. If I had tried them all before we set out there would definitely be some meals I would not have taken.
4a) Don't take too much food - we saw many people hiking that had way too much food. This was extra weight that they carried the entire trip. Again, if you try the food before you go then you get a sense of how much you need for each meal and you can then avoid buying too much. My daughter and I ended up sharing our breakfasts (which was meant to be a single serve) however we found it was plenty for both of us and hence we had quite a bit of food left over after the hike.
4b) Take plenty of snacks - you need energy to fuel your hike during the day and it is nice to have a treat at the end of a hard day hiking. Items like Skratch or Clif Bars, are high in energy and easy to consume while on the move.
5) Reduce electronics if you can. We did the whole 5 days with a single charge of our headtorch and phone. Remember there is not much coverage so you can turn your phone off when you are not using it. Also, there is not much to do when it gets dark. After a big day of hiking, you will probably want to go to bed early. As a result we did not use much battery. Power banks and spare batteries are heavy - I would suggest you only need a small one as an emergency recharge if required.
6) Take enough gas - this is your only means of heating water and is critical if you are using freeze-dried food. To give you a guide - we took 1 x 230g gas canister and 1 x 120g gas canister. This was plenty for two people over 6 days. In actual fact we finished the hike in 5 days and had consumed the full 230g gas canister and would have needed to use the 120g if we had to heat water from one more meal or hot drink.
7) Hiking poles really do help, they are very efficient when hiking up hills and take a lot of strain off your knees when descending, especially when you have a loaded pack. I would strongly suggest you use fixed Z-Poles. Why you ask? Here is the answer:
- Fixed poles are lighter than adjustable poles and there is one less moving part to go wrong - I am yet to meet anyone who adjust their poles while hiking. Get them sized right and you are good to go. (Your arm should be bent at 90 degrees when placing the extended pole on the floor).
- Z-poles fold up much smaller than the telescopic type and are also typically much lighter.
8) Take an extra drybag or similar for your food. It is amazing where rats, birds and possums can get to. Even in the really nice modern huts the rats got into peoples packs and got to the food. Everyone was a victim except people that had their food sealed in a separate drybag and hung their packs up high on the wall.
9) Boots over shoes, and gaiters are not necessary. This can be quite personal but there is a fair bit of mud in sections of the track, and my socks and feet would have gotten wet in shoes. The height of the boot kept my feet dry and clean. The choice for gaiters is again personal - some people like to have them as protection from snakes. We did the hike in May when it was much cooler and there was no risk of seeing a snake. Apart from snakes, the track is quite open and hence you don't need the protection of gaiters from harsh bush.
10) Don't carry too much water. There is plenty of water everywhere on the Overland track. We used a 1L Nalgene bottle and a 500ml soft flask each, This was plenty with a water filtration system. My belief is that bottles are easier than bladders - you can easily see how much you have left and they are much easier to fill without requiring to empty your pack.
11) What? There was only meant to be 10 - well take this one as a freebie. There is a lot of organisation required to do the Overland track. Including organising transport to and from the start and the finish. We worked out that the best way to coordinate is to organsie your itinerary in the following order:
1) Book your parks pass - there are limited spots and this will dictate when you need to be at the trail head and when you will finish.
2) Book your shuttles to the start and from the finish. There is accommodation at the start and the finish of the track so you can give yourself an extra day at either end to make it a little less hectic.
3) Decide if you are going to take the ferry across Lake St Clair and check if it is available on the day you want to use it - book it in advance to be sure!
3) Book your flights and accommodation based on 1,2 and 3 above.


